Turbo

The Tribute

Every game room needs a driving game, and since I had none, this Turbo Mini caught my eye. Unfortunately, the restoration turned into a major project.. Read on!

The Facts

Manufactured by Sega, Turbo holds a copyright of 1981 and was avaiable as a Full size sit down machine to the smaller "mini" size game. The player drives a car from a third-person perspective (above and behind) through town, up hills, through tunnels, around curves, and over bridges, in the snow, and at dusk/dawn.

So what's your story?


So I'm at this auction….. There really wasn't any thing I HAD to have, but the mini Turbo seem like a good project. I saw it running during the preview time and noticed that it needed a new monitor and even played it once during the preview time.. it seemed to function normally, but I wasn't sold on bidding on it yet. Well the auction started and by the time the came to Turbo, any other piece I was interested in was sold to others….. At this point if I was going to take ANYTHING home it was gong to be this. My collection is getting rather large so it's not surprising that this turbo mini caught my eye. Its small frame would fit well in getting more game to floor space in the Basement Arcade. I also do not have a driving game right yet so a driving game would round out the collection nicely. Well long story short….. I won…And paid way too much for it as well. But it wasn't until I got it out in the light that I saw I bit off more then I could chew.
In the sunlight I now noticed that the front panel, where the coin door mount was no longer original but replaced with painted black plywood. Likewise, the sides were real rough, and again on the side, where the cabinet flares towards the player, towards the bottom, pieces had been broken off

The Restoration


(The illness is not skin deep!)
When I got her home I decided the first thing to address was the monitor, I pulled the monitor for recapping but realized that Zanen did not make a cap kit for this monitor in a 13 inch version so I would have to make my own. I took the thing apart and made a list of all the electrolytic caps and headed out to the store the next day. I recapped the unit within an hour and stuck it back into the machine. When I powered it up it looked as bright and crisp as I expected. Cool! I played the game for about and hour and then let it set for about a week thinking that the monitor issues were behind me…. WRONG. A week later, I lost the monitor again, but this time I lost the majority of the Hi voltage to the monitor.. Bad flyback was the issue and this time and since flybacks for the Sega monitors are hard to come by, a monitor replacement was the only other option. I was back to ground zero once again. A non playable game that was cosmetically a mess. The decision was made that day for an entire overhaul including the case and the monitor.

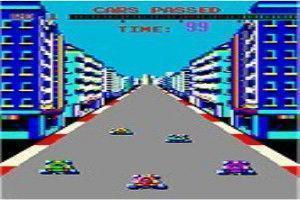
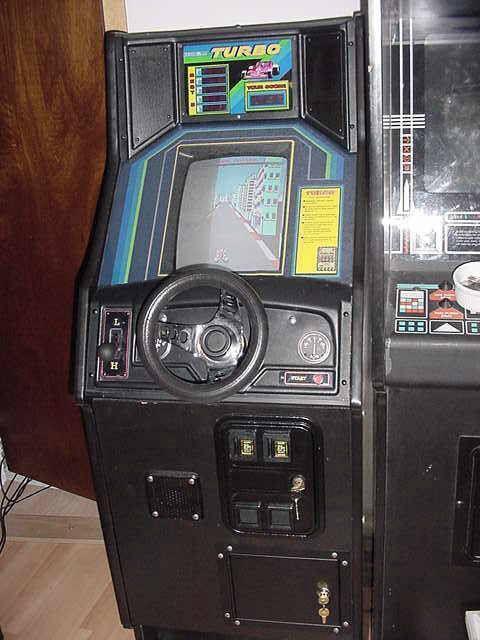
(Operation Crush / kill / destroy)
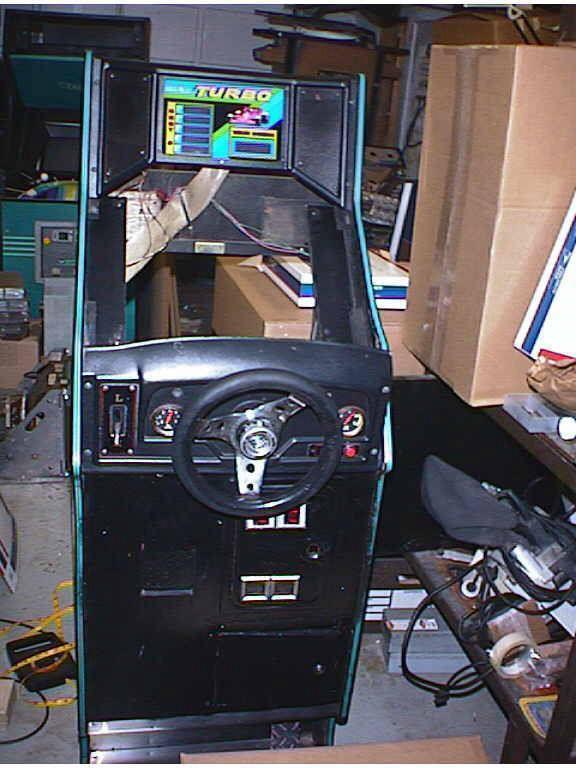
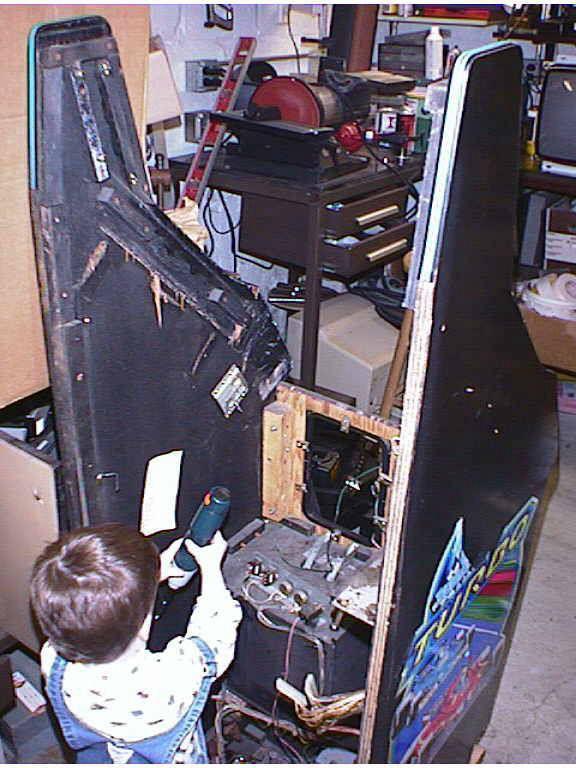
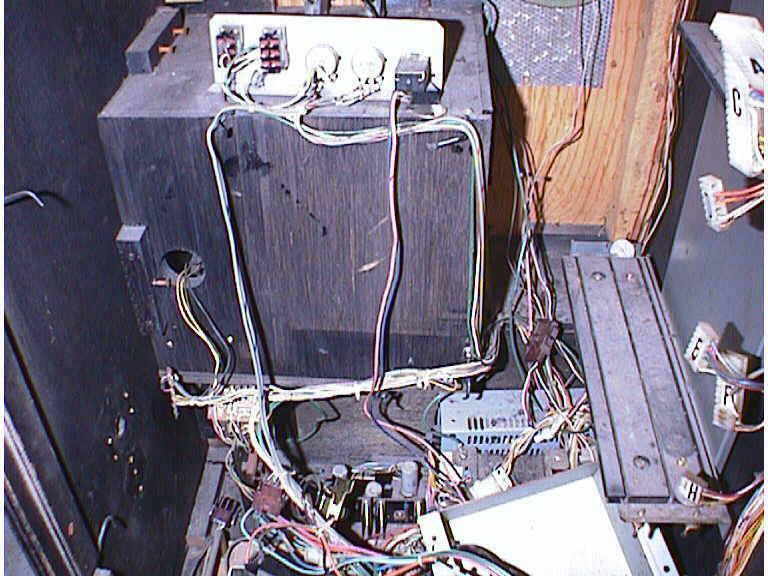
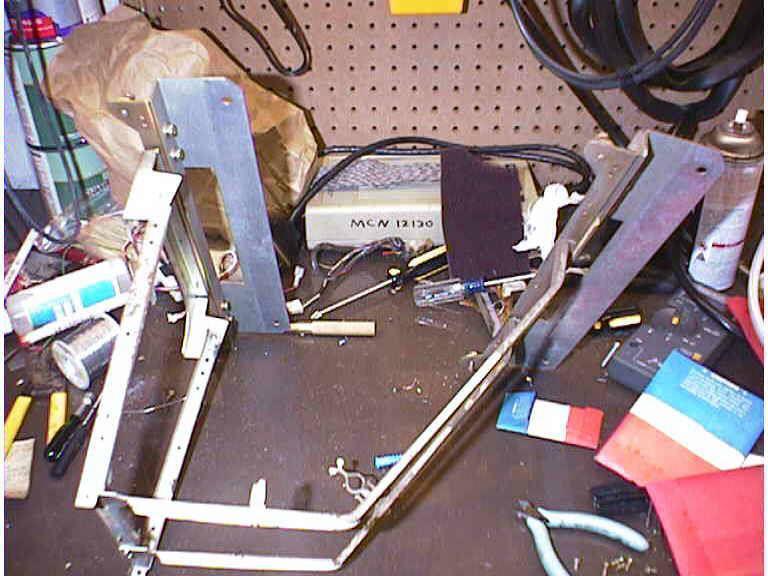
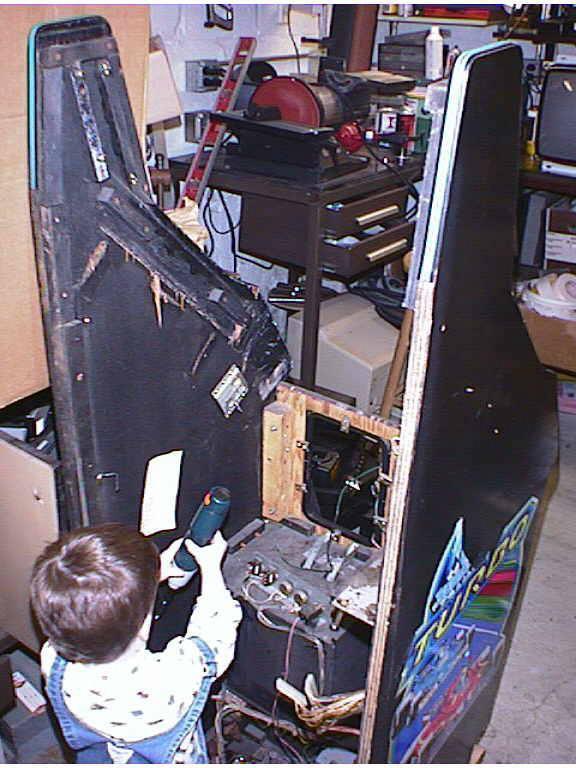
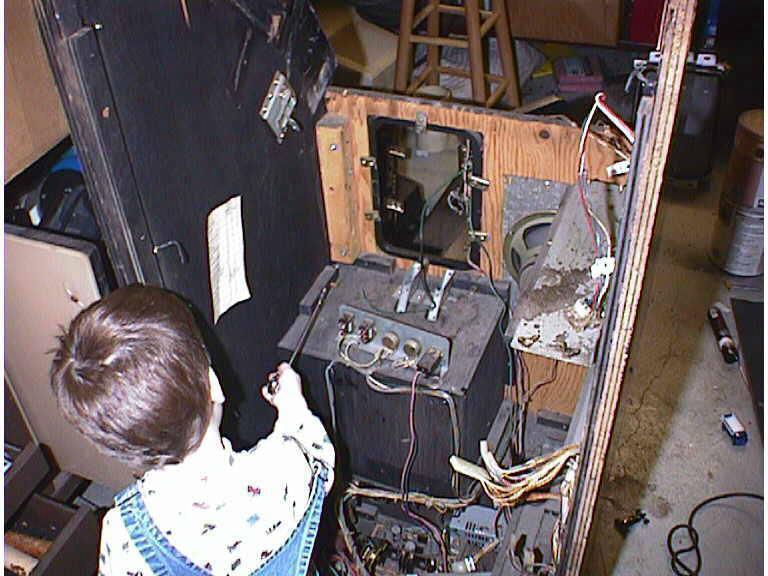
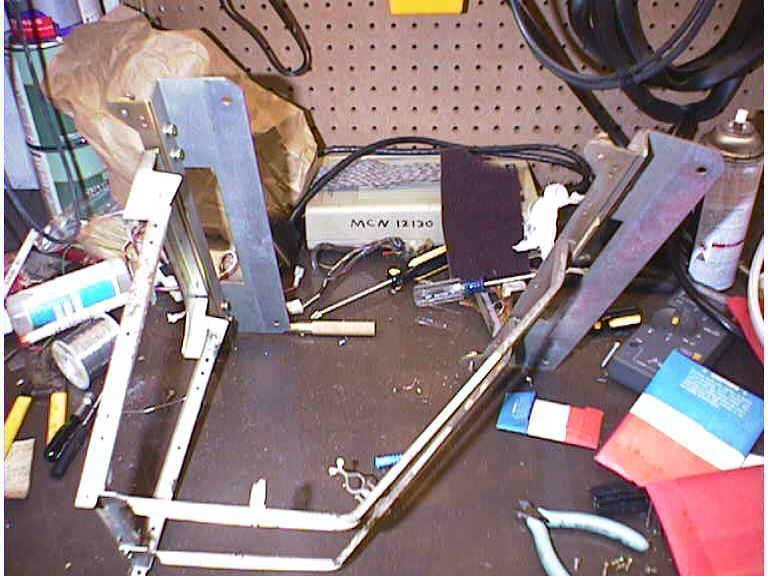
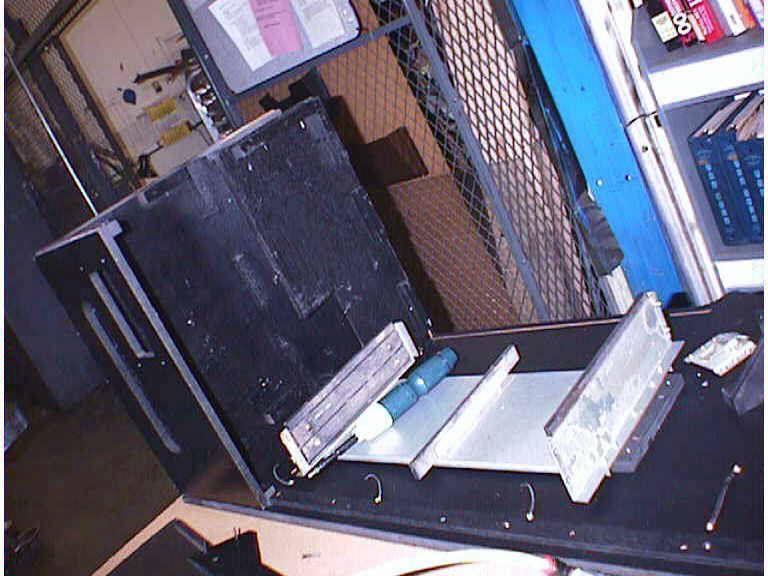
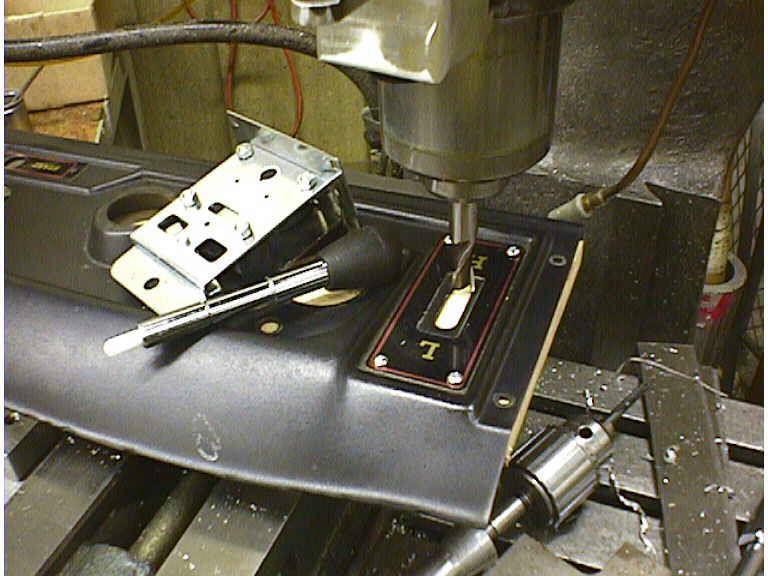
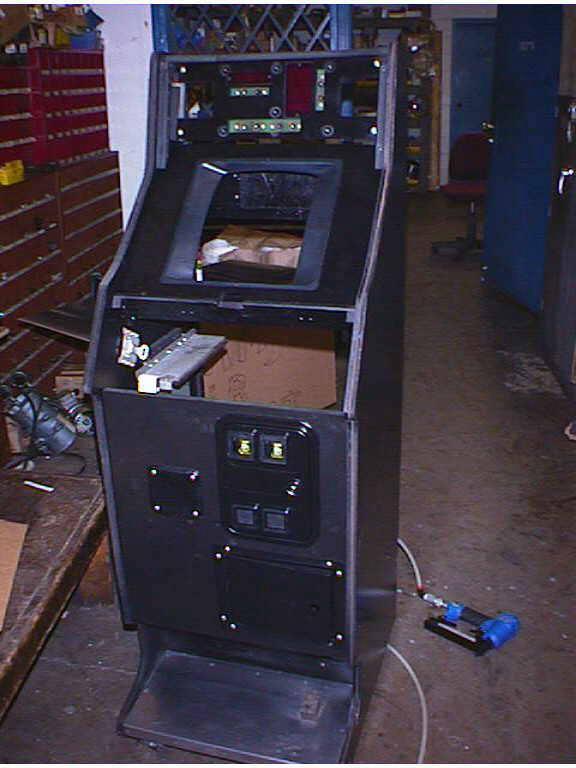
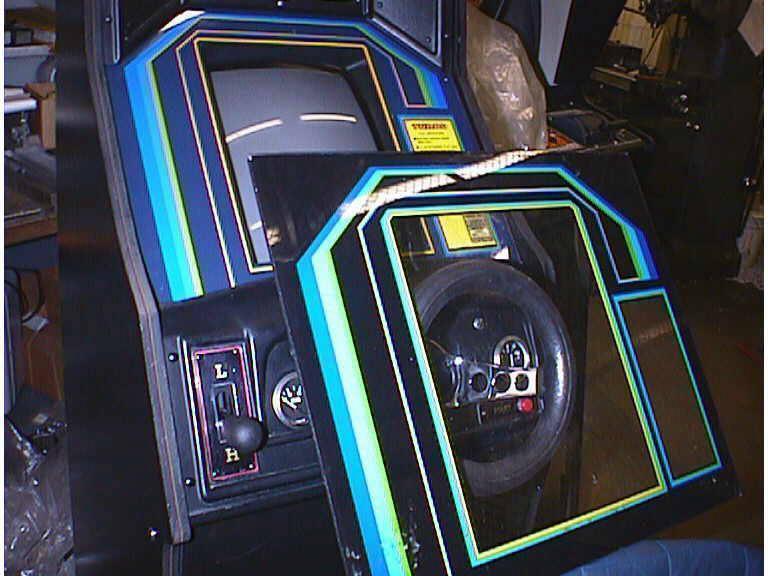
Step one was to safely remove one or more of the sided for tracing. The Control panel was removed and the bent up shifter and rusty steering wheel would need to be replaced the wires, throttle, etc would need to come off sooner or later and everything needed cleaning. The plastic marquee was removed and set aside and well as the reset of the above mentioned parts. As I removed screw, by screw, one side came loose and then was pried off the base leaving little more then a shell of one side and the base. But this removed side was still not a suitable template as of yet as there were dozens of small wood chunks that provided mounting for the front glass, marquee, control panel mounting and more. All this was carefully unscrewed and the block were pried off as they were glued and stapled.
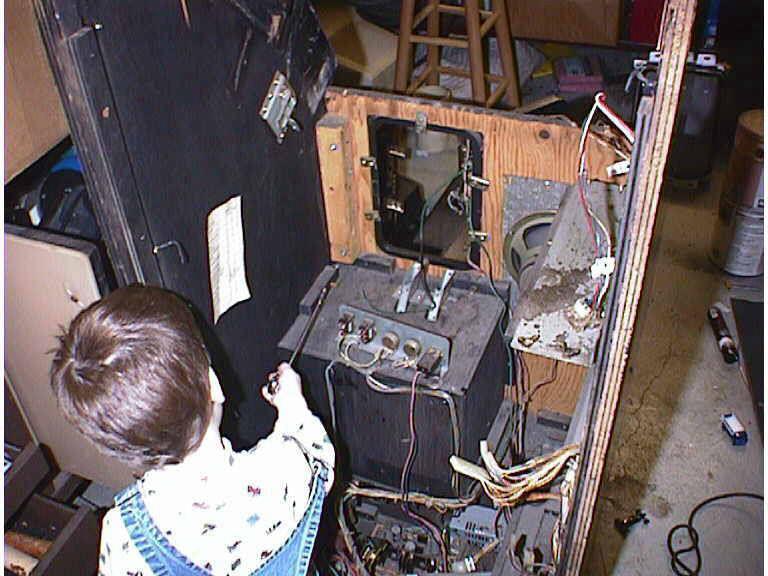
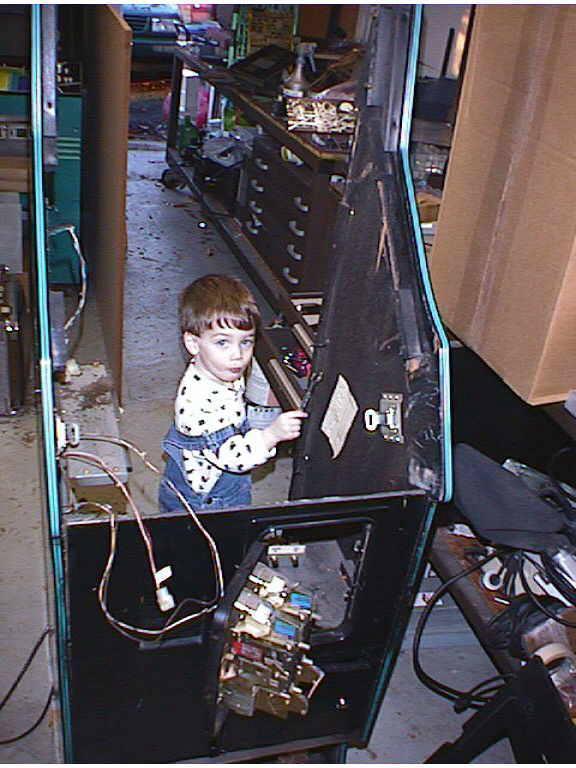
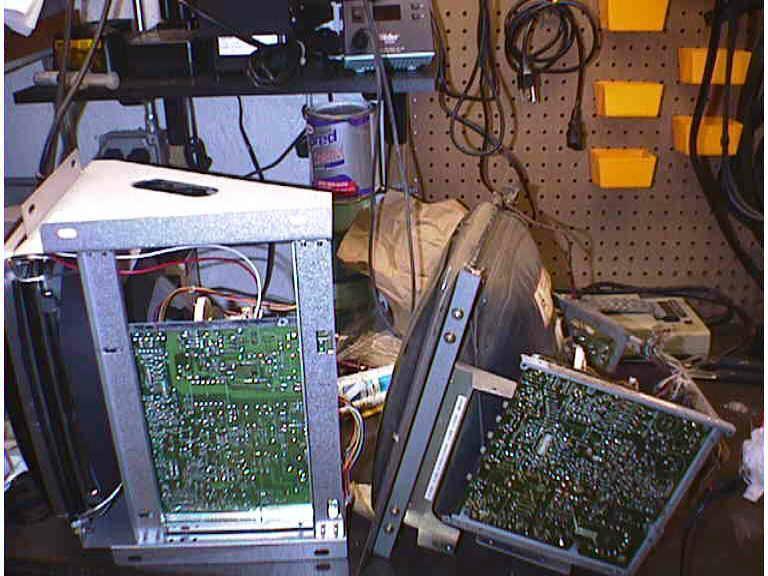
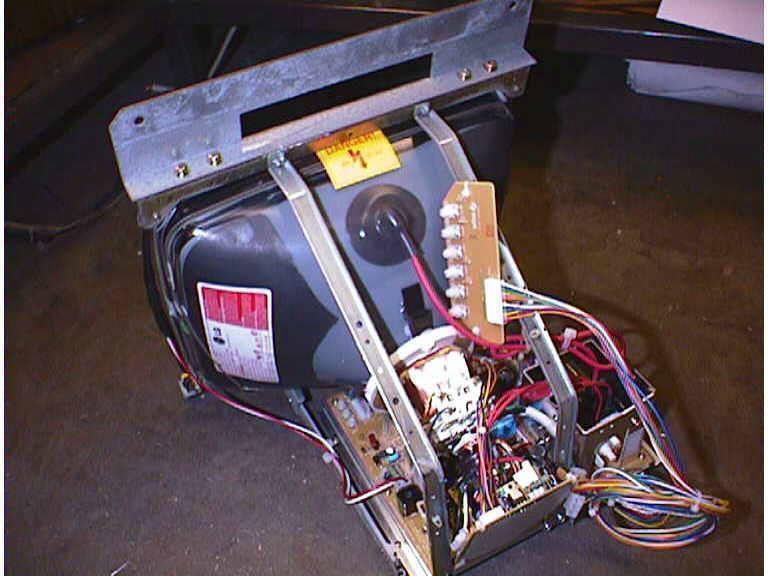
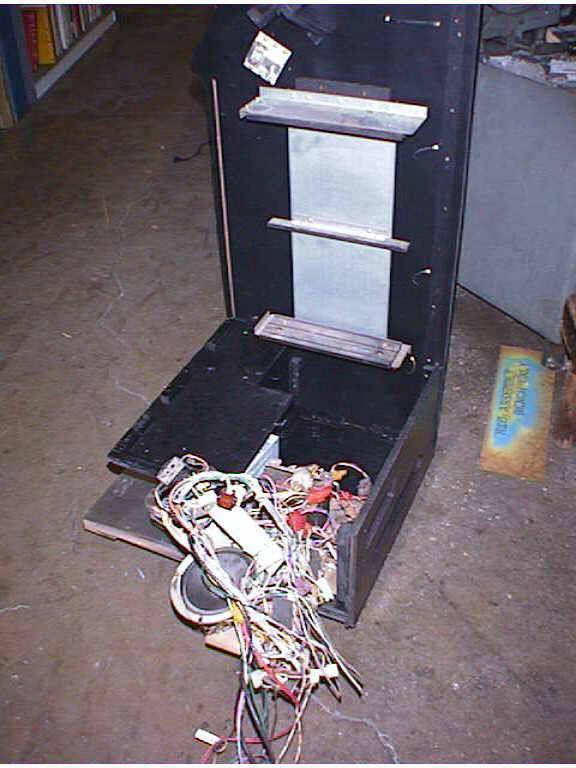
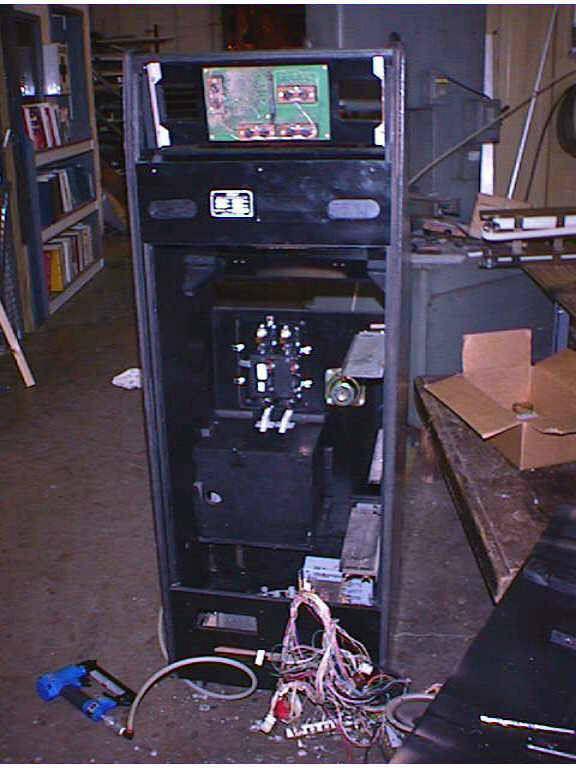
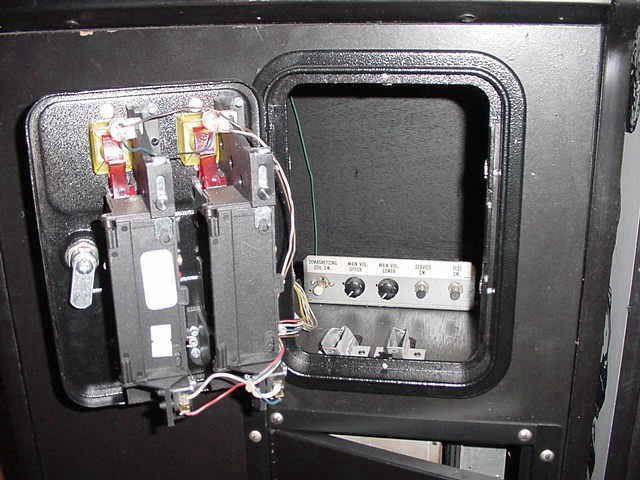
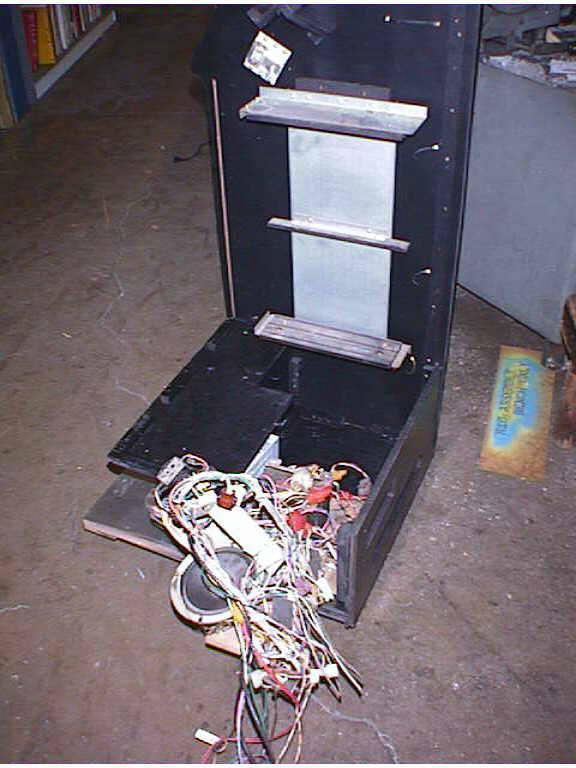
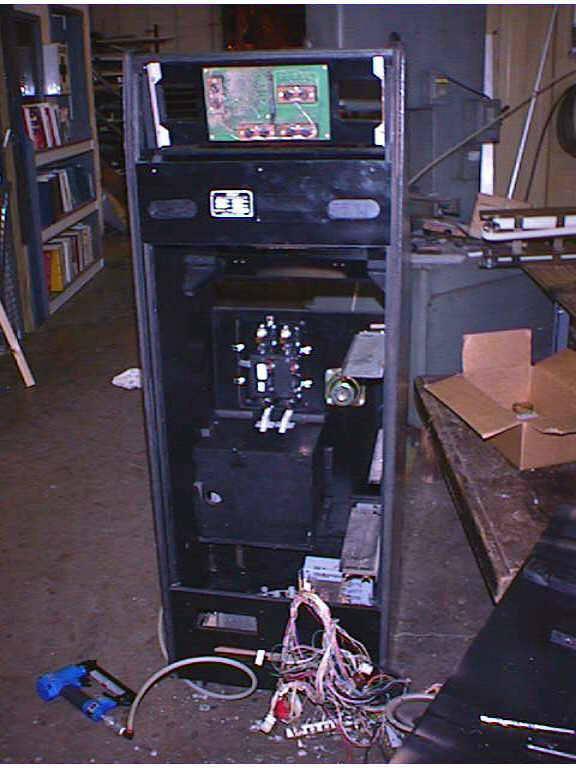
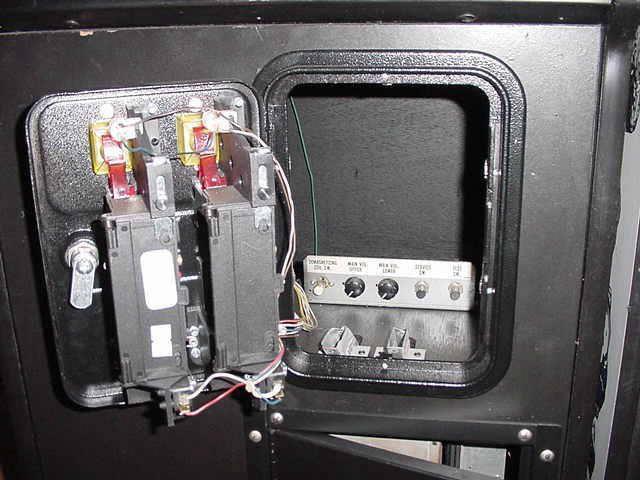
The wiring harness attached was an altogether mess, but all the power components sat on a board that was easily removable with the one side off. Pulling the remaining side off with a cracking of wood, I was left with a base housing multiple compartments for the gas pedal, coin box and more.
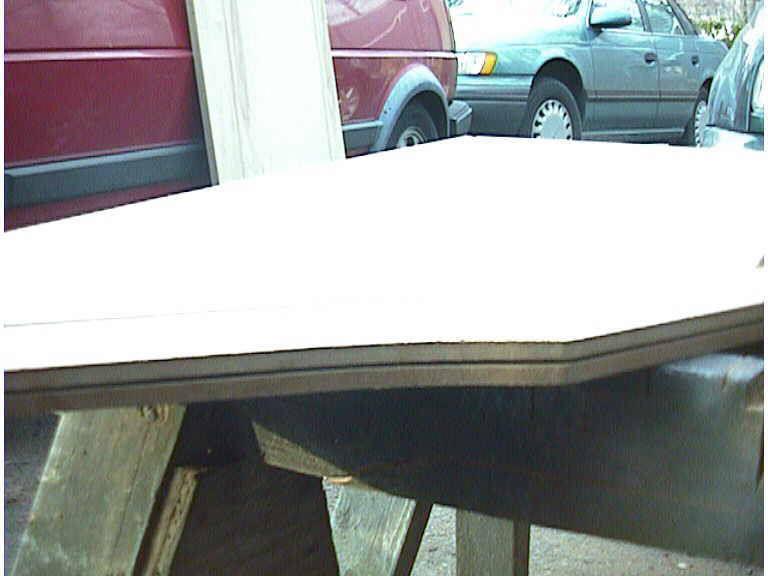
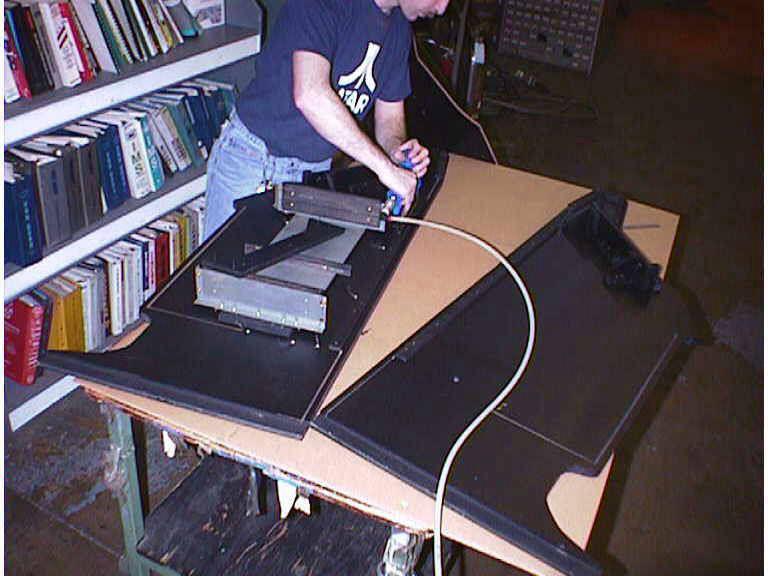
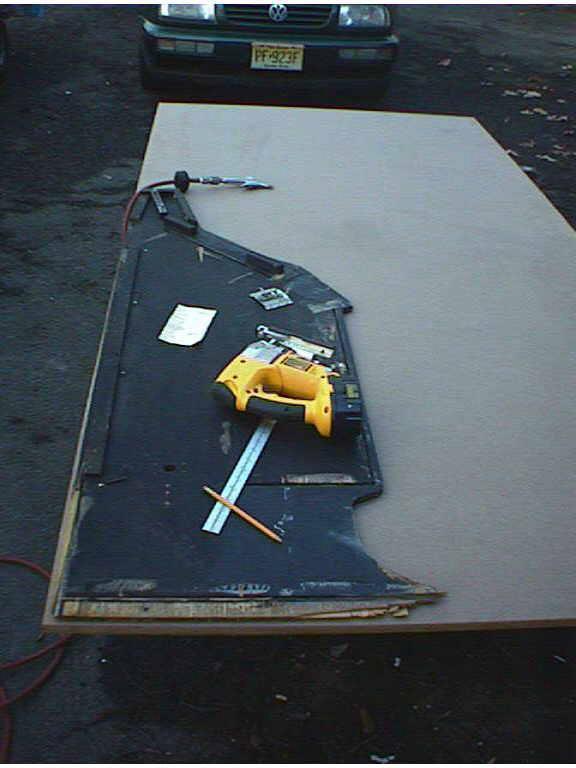
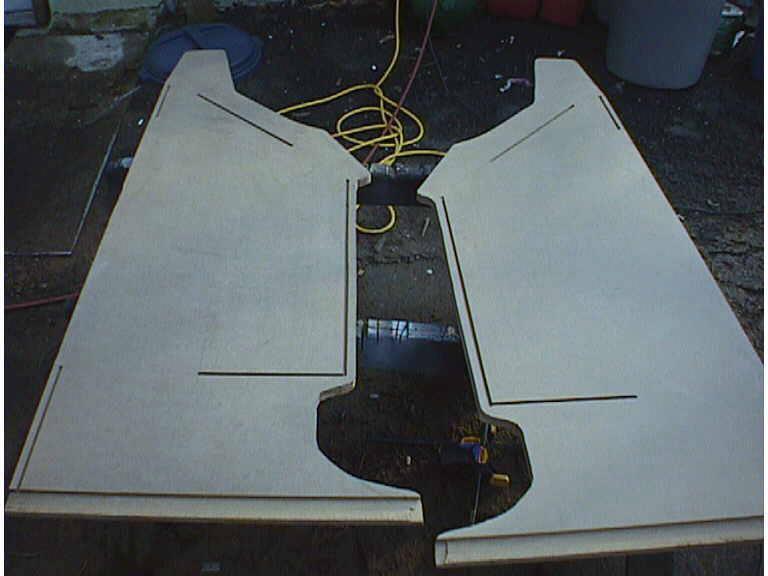
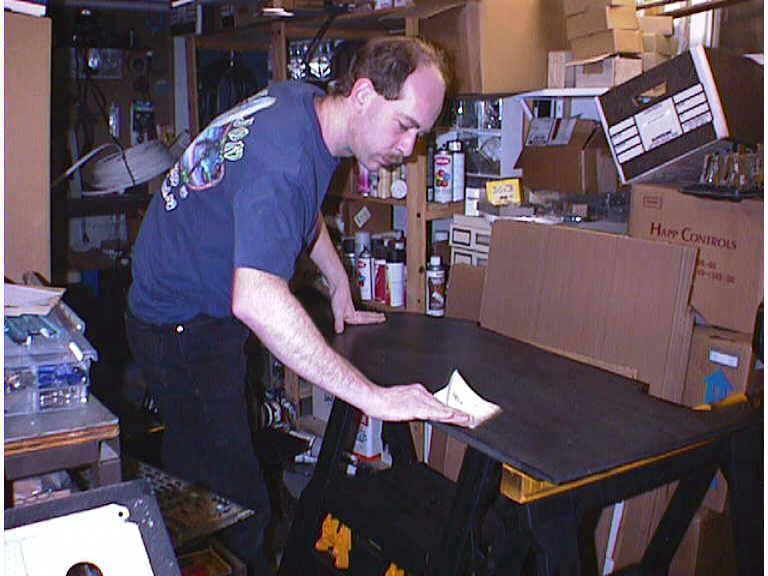
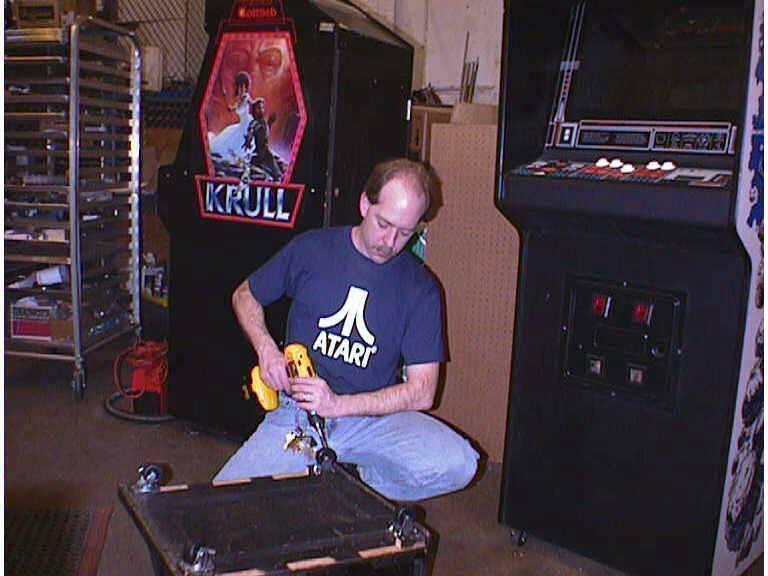
The original Turbo had come sort of lament on the outside that was not as tough as Formica but yet very smooth. The only thing I could come up with as a substitution was MDF board which is a sawdust/particle press board that is very smooth. This I picked up in a 4 x 8 sheet at the Home Depot as well as a gallon of semi gloss black paint. With the trip to the store done, I set up the work horses and set down my one side as my template. A hour with the jig saw cutting very slow as to not make a mistake and I had my 2 sides. 

The next task was to route the notches in the side that keyed the whole thing together. This took some time to as you only get once chance to do it right and some of the diagonal cut were hard to pencil in as there is no easy way to measure this out After a good two hours, I had my side routed, as well as its mirror image. I also cut the front panel out as well. Not a hard task mind you as I only needed to cut out for the up and coming new coin door and ad a hole for the new speaker. The "tabs" that lock into the sides needed to be routed in as well. Finally, a special T molding bit was used to slot the whole thing for new molding when I was done. With the imitate woodwork done the sides got a coat of black paint and were set aside to dry.
The taking apart of the case left me with just the base and a ton of small strips of wood, all needing paint. The base was sanded and repainted

Time to tackle the monitor issue. I have had this problem before. I tend to purchase HAPP monitors because I get a good price per value on them. Only problem, especially with the 13" models is that most mini machines and many 13" cocktail games need an open frame design on the monitor and the majority of the 13" monitors on the market are shelf units and wont fit in the machine. This was what was before me on the workbench. The monitor on the far left was a Happ model I was in the process of modifying for a Space Panic table that came with no monitor. The slimming down of the frame was going well but it still did not fit. The center monitor is an unmodified Happ monitor and the far right was the DOA monitor out of the Turbo. In a moment of reason I decided that It would be best to strip the old monitor of its burned screen and defective boards and swap the new tube and boards of the new Happ monitor into the old steal frame

Assembly started with laying the two new sides down and reattaching all the blocks of wood that bond the case as one. For this task I bough a pneumatic stapler. With this, and a bit of wood glue I ended up with same as factory results. I added my standard casters on the base and attached the to the first side. This process was repeated, adding sides and blocks and components and board holders until I ended up with an empty case.

Remember I said that the shifter was all bent up? Well now came the time to repair the control panel.
A new shifter was chosen for the Happs catalog but the (non working) gauges labeled oil and vacuum on the panel needed to be replaced as well as they were mostly rust. And I need a steering wheel too. JC Whitney supplied the missing parts. I chose to replace the decorative original gauges with one that would do something. An Amp and Volt meter were chosen and are hooked up on the 12 volt line, so now they move when the game is powered! The shifter form Happs needed some work too. Seems that the shifter handle is fatter then the old one so I needed to open up the slot for the shaft in the mill. The steering wheel is a modification too. Although I could find the correct diameter, the replacement wheel is deeper then the original. You could never tell.. The entire blend is very nice and enjoyable to playff

Final work was in some of the art work. For new side art I used some generic SEGA stickers, but the monitor plexi would be a bigger problem. Littered with cigarette burn marks and deep scratches, I choose to make an UNDERLAY. This is where you use printed-paper with the Lexan on top of it, rather then a silk-screened plastic that was there originally. Using my scanner (to snapshot the original) and Corel Draw 10, I remade the simple art and printed it on my Fargo dye sublimation printer in two parts, taping the joint together.

Picture Gallery of My Turbo

Turbo Sounds

Driving, Passing cars

Top icon for the WAV file Bottom icon for the MP3.

Accelerate

Top icon for the WAV file Bottom icon for the MP3.

Crash

Top icon for the WAV file Bottom icon for the MP3.

Skid

Top icon for the WAV file Bottom icon for the MP3.

Ambulance

Top icon for the WAV file Bottom icon for the MP3.


Tech Documentation

Manual

Title: Owners Manual

Document Info

Parts list and installation instructions?  Yes
Schematics?  Yes
Monitor Information? No 
Number of pages? 192 

Download

Turbo 13.5 M PDF

Switch Setting

Click here for all the switch setting

PC board pin outs

Click here for the PC board pin outs

Contacts

Mark@Basementarcade.com
Phone: +1 ‪(973) 400-9110‬  

Links

Email us